
Matthew Orwat
County Extension Agent – AG/NR
Email: matthew.orwat@ag.tamu.edu
Planting a tree sounds like an idiot proof gardening task. You dig a hole and drop the tree in it, add enough dirt to hold it in, and water it. However, you would be surprised in the difference between a properly planted tree and one just dropped in a hole. Here are the current best practices for planting a tree.
Preparing the Soil
The first part of preparing the soil is to get a soil test for the area where you are planting your tree. You can find directions and forms for a soil test in town or in the countryside. Follow the directions to get your soil sample and put the type of tree – ornamental, fruit, or nut, in the “crop” area. In about two weeks, you will receive the soil test results and fertilizer recommendations.
Follow the fertilizer recommendations by spreading the fertilizer and mixing it into the first two or three inches of soil. This will give your tree the nutrients it needs to start growing and establishing itself.
Bare Root, Container Grown, or Balled and Burlaped?
Trees are sold as bare root, grown in containers, or balled and burlaped. Each has advantages and disadvantages.
Bare Root
Bare root trees are grown in the ground and harvested when they are dormant. The soil is removed from the roots and the top of the tree is pruned short. These trees are usually one year old but may be two years old. The advantages of bare root trees are that they are cheaper. If you want to plant an orchard, bare root trees can save you a lot of money. Because they are relatively light weight, you can order from specialty tree dealers and get a wider selection than you may find at a local nursery.
One of the disadvantage of bare root trees is they are usually smaller than container grown trees, so they take longer to reach their mature size. Fruit and nut bare root trees may take two or three years longer to reach the size they can be allowed to bear fruit. The other disadvantage is that these trees have to be planted while they are dormant. You may have to wait to receive these trees until the fall or spring. They are not sold in the summer.
The survival rate goes down quite quickly if bare root trees are not planted the day they arrive or maybe two days after they arrive. In addition, bare root trees need to be soaked for an hour or two before planting. If you are planting a lot of bare root trees, soak them in batches small enough to plant within a few hours after soaking.
Container Grown
Container grown trees can technically be planted at any time of the year. However, the survival rate is higher if they are planted in the fall. They do not have to endure the terrible heat of summer, and their roots are able to grow before it gets too cold outside. Most container grown plants are purchased at a local nursery or tree farm. Because they are grown in a container, these trees are typically two or three years old and are bigger than bare root trees.
The dirt and container make these trees too heavy to ship. If someone near you isn’t growing the tree you want, you may have to choose another type of tree or pay a lot of shipping. If the tree has been kept too long in the pot, the roots might have started growing in a circle in the pot. This will eventually girdle the tree, so you will have to cut the roots so they will grow into the surrounding soil when planted.
Balled and Burlaped
Balled and burlaped trees are grown in the ground at a tree farm. They are harvested by digging them up with a special machine that wraps the burlap around the root ball. These trees are typically older and larger than bare root trees or container grown trees. If you want a mature tree, balled and burlaped is the way to go.
Balled and burlaped trees are generally more expensive than other trees. If the tree is large, the survival rate is lower because the roots of the trees that extend out from the tree are cut off when it is dug up. Sometimes mature trees are moved from a spot that is being developed to save them. This has to be done very carefully, or they won’t survive.
Digging the Hole
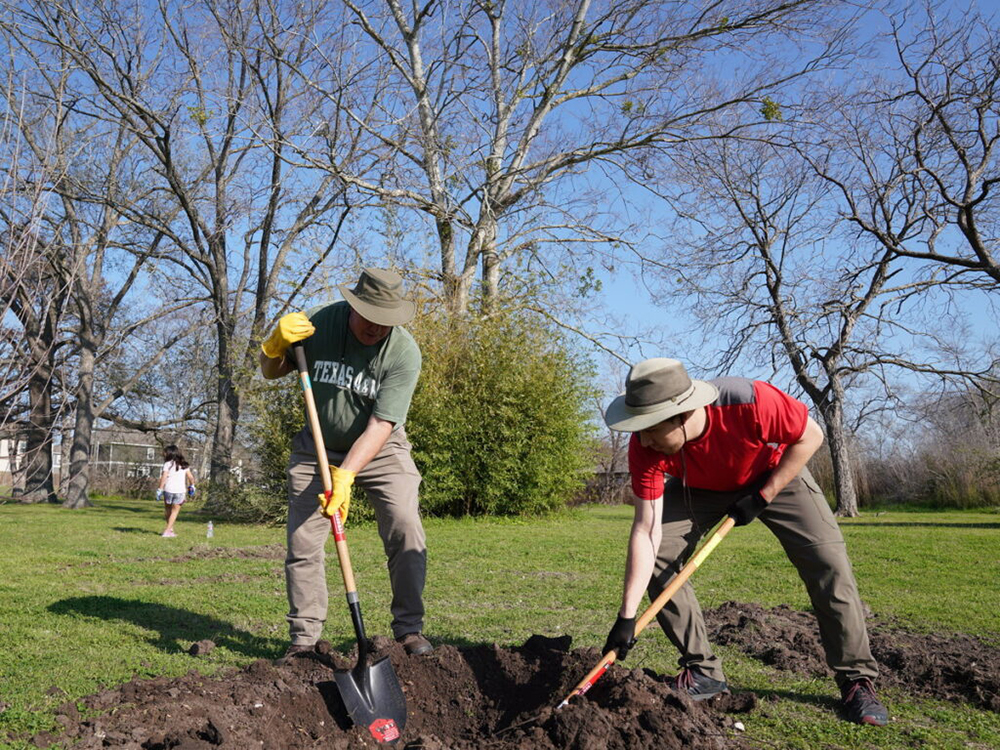
Dig a hole two and a half times as big around as the root ball of the tree. The hole should be a tiny bit deeper than the rootball. Save the soil you dig up. You will need it.
Photo courtesy of Texas A&M Forest Service.
Placing the Tree Properly in the Hole
Never put fertilizer in the bottom of your planting hole. It will burn the small feeder roots and prevent them from absorbing water properly. This may stunt or kill the tree.
For bare root trees, make a cone of soil a few inches tall in the bottom of the hole. Place the part of the tree where the roots come out of the trunk on the cone, then spread the roots out around the cone. Make sure the root flare, where the roots and trunk meet, is level with the soil line.
Container grown trees are placed in the hole so that the root flare is at the soil line. You don’t need to make a cone for them to rest on because the roots are in soil.
For balled and burlaped trees, remove the burlap from the root ball. Make sure all wires, staples, and other foreign objects are removed from the tree and its roots. Put the tree in the hole so the root flare is level with the soil line. Sometimes this is different from the soil level the tree was grown in, so check it carefully.
Fill Dirt
A lot of people amend the fill dirt that came out of the hole with compost or raised bed soil when planting trees. This is a mistake. Roots are sort of like spoiled teenagers. They would rather grow in a circle in the planting hole than grow straight out into the surrounding soil because it is easier. Circling roots will eventually girdle the tree and kill it. Put the dirt you dug out of the hole back in around the tree roots. Don’t pack it too tight or you will make it hard for the roots to penetrate. Water the tree. The dirt will sink down some as the water forces some of the air pockets in the soil to collapse. Put more dirt in the hole. Repeat this cycle until the dirt doesn’t fall any when watered and the hole is full.
Build a Berm
Use the extra dirt from the hole to build a berm around the tree and about two or three feet from the trunk. Two or three inches is best. The berm keeps water from running off too quickly instead of being absorbed into the soil when you water the tree.
Water the Tree
You will have to water your new tree every day for two weeks. Fill the berm with water, then let the water soak in. Repeat once. After two weeks, reduce the frequency of watering gradually until you water once a week. Trees take two to three years to become established, so water the tree once a week during the growing season and once a month or so during the winter. Native and adapted trees will only have to be watered during a drought at this point. Other trees will still have to be watered, but not as frequently as they were before they became established.
-
You must be on the network to see these links.
© 2026. Dallas County. All rights reserved.